Monday 31 October 2011

Sophie and Simone's Birthday


My friend Simone and my neice, Sophie both have birthdays in November so I made them the same style card.  I made this using the sets: French Foliage, Kindness Matters and Letter it.  I love how the French Foliage set has a stamp that looks like something has spilt on the paper, giving it a really weathered look.  I finished it off with crumbcake Seam Binding Ribbon.  The butterflies were hand cut, which made it a bit fiddly, but worth it.

Ness

Wedding Gift Card Holder

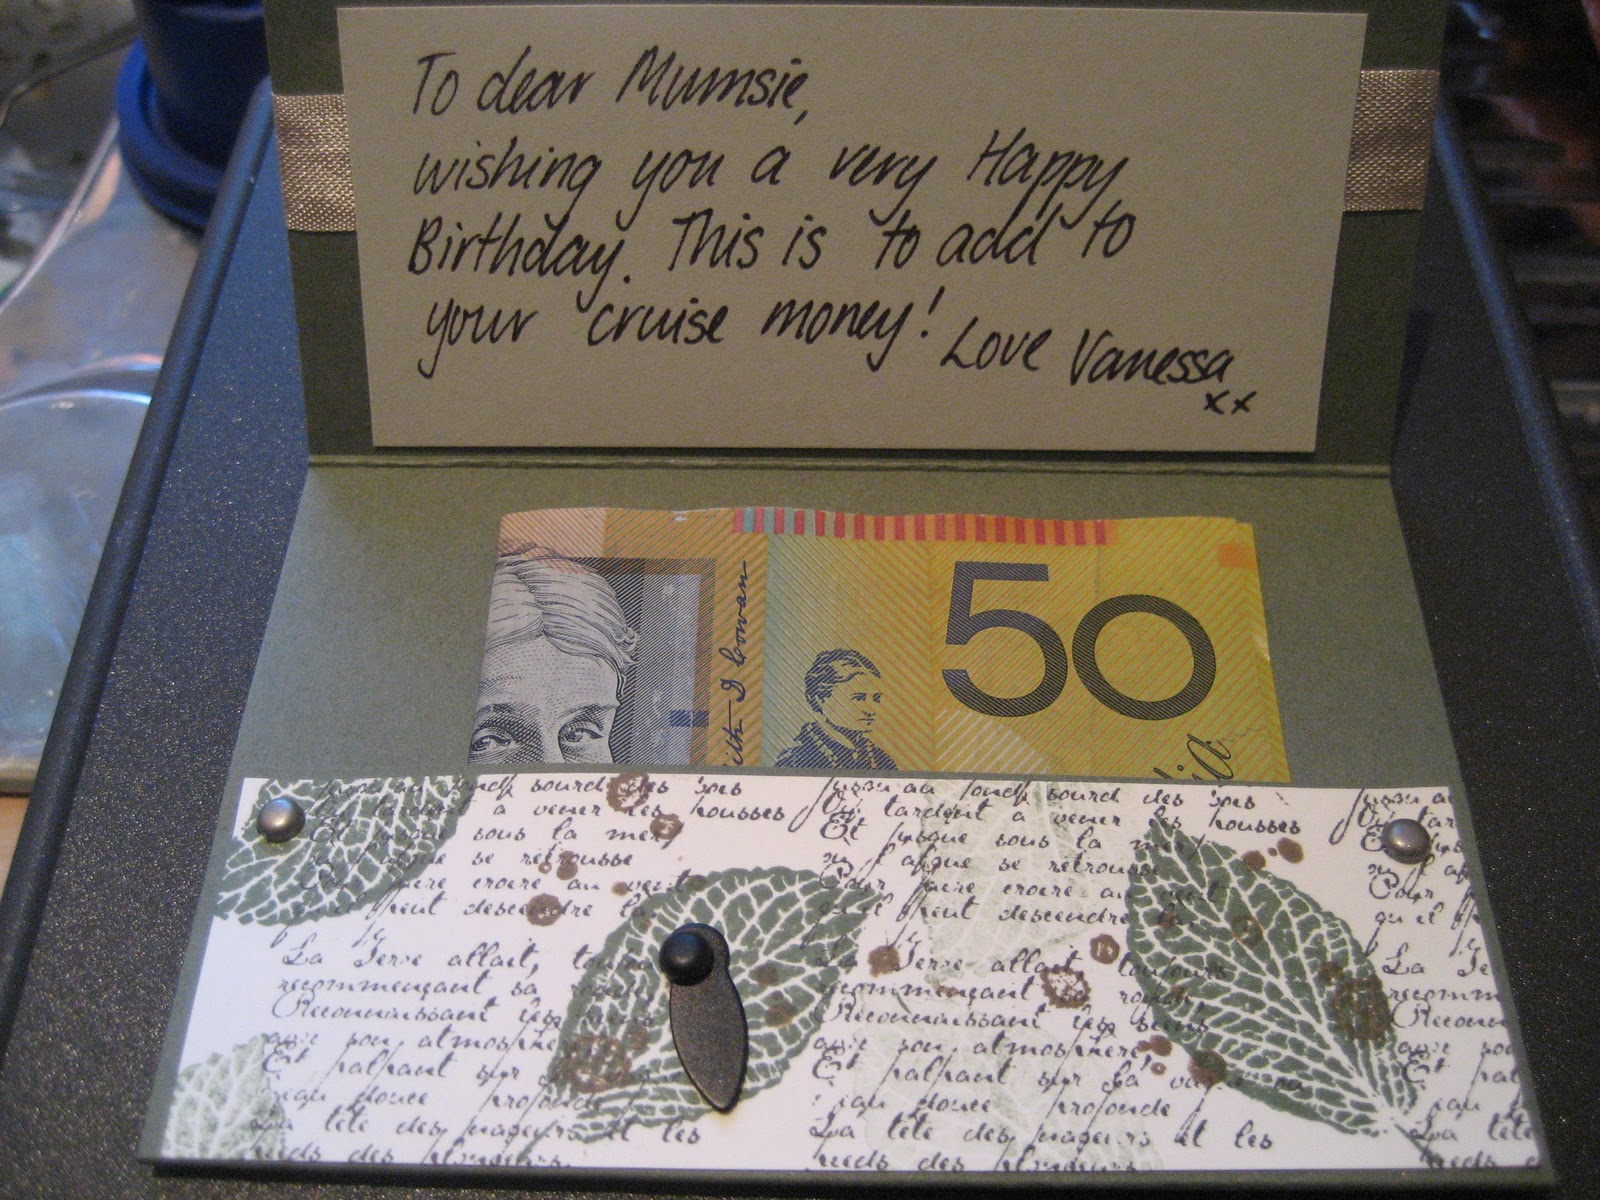
My friend Jane made this at my Christmas Card making Day yesterday.  She has loads of weddings coming up and wanted to make wedding gifts instead.  This is a little money/gift card holder.  Most couples want cash these days, so this makes a gorgeous little keepsake. 

To make this, Jane used Baja Breeze cardstock (4" x 7") and scored at 1" and then at 4 1/2 ".  She then folded it up.  The 1 1/2" part becomes the pocket, so she attached 2 light blue brads to hold it together.  The En francais background stamp was used on Very Vanilla cardstock using Crumbcake ink.  She then inked to edges with Crumbcake, too.  She got to try out our brand new lettering stamp set called 'Letter it'.  We arranged the letters to read A & T instead of T & A (for obvious reasons!)  She used Soft suede ink for that weathered look.  We didn't have an 'and' so we improvised and coloured in the 'and' from the Merry and Type set and cut it out and stuck it on top of a couloured in letter!  She finished it off with some lovely Baja Breeze seam binding Ribbon and stuck on some pale blue pearls, which I think really make it.

The new technique here, is the way we coloured in part of a stamp with the matching marker and stamped only the word or part of the stamp that we wanted.  A special trick is after you have coloured it in, you breathe on it to reactivate the ink  before stamping.

Good work, Jane.  Your friends will love recieving that on their special day.

Ness

Friday 28 October 2011

Christmas Bingo Card

-
This is the first card I have made using the Bingo card Stamp.  It didn't quite fit into the standard size card that I usually make, so I tilted it so it fit.  We made this at the Girls' cardmaking Day last weekend.  They enjoyed making this card the most as they got to have a play with the Jolly Bingo Bits stamp set and choose from the 24 little pictures.  I added the word 'merry' from the Tiny Tags set.   The greeting is from the ever versatile 'Contempo Christmas' set. 

I learnt about 'masking' at the Stampin' Up! Regionals this year.  Masking is basically covering up a part that you don't want stamped.  If you look behind the bingo card, you can see a florish design.  So all I did was cover up the bingo card with Post-it Notes and stamped all over the white part of the card.  Removed it and tah-dah!  A background!

Thursday 27 October 2011

Christmas Card Making Day- Sunday, 30th October 2011


Christmas is only 58 sleeps away!  It always comes around quickly.  This is why I am holding one in October, so we can be nice and organised!  We will be making 2 each of the below cards, as well as making a gift card holder.
We will be using two of my favourite sets:  Contempo Christmas and Delightful decorations.  We don't even need to cut out the baubles as Stampin'Up! have a matching punch for that!  Having matching punches for a lot of our stamps makes it nice and easy to create.  They also give a nice even, clean line that you don't often get with cutting!

I have 2 spots left for the class, so please come along on Sunday.  If you can't make it this Sunday, I will be holding another one called "A very Glittery Christmas" where we will be making 8 cards with a 'glitter' theme.  We'll also make some giftcard holders, as you can never have too many of them!  The date will be Sunday, 27th November at 1pm.

Ness

Mini Milk Carton

I purchased the mini milk carton a little while ago and have been having fun creating cute little gifts out of it.  It is quite small and is designed for small treats such as Jelly Bellies, M&Ms, etc.  I made one as a friendship gift.  It is really quite versatile as I think you can make it for many occasions such as birthdays, Christmas and Easter.  I am going to make a whole lot for Christmas to sit on the table as a little take away gift.


I used Bashful Blue cardstock and white for the scallopped square and the embosslits die (the butterflies).  The strip is 6 3/4" x 1".  The measurement is handy as it fits arond the carton perfectly.  The secret is to add the sticky strip to the strip and not the carton.  Also, put the strip on the 'good' side and wrap around, pinching the corners as you go.  I used the Hostess designer paper called cheerful treat.  It's really pretty paper.

Ness  

PS. Got the mini pegs from the $2 shop!

Tuesday 25 October 2011

'Cheep Talk' friendship card

For the next three entries, I will go through the three things we made at the kids cardmaking day.  The first one is made out of the Cheep talk Stamp set.  It is retired, but I just love the bird motif.  I put a sheet of Melon mambo through the Big Shot with the Square latice folder.  It gives a great texture to the card.  I then punched the shape with the curly label punch.  It doesn't seem to matter which order you do it in.  I then used the Ice Cream parlour ribbon and matching buttons.  Someone told me that you must never attach 'unthreaded' buttons, so I just threaded them with some natural twine.

Monday 24 October 2011

Kids Cardmaking Day


We had such a lovely day yesterday making cards- it was a frenzy of activity.  We made 2 Christmas cards, 2 birthday cards and 2 gorgeous mini milk cartons.  I had gone out and bought some of those expensive Jelly Bellies to fill both mini milk cartons.  i even measured out 140gms each, but I mistakenly put them in little bags for them to take home to fill later, but before I knew it, they had eaten their whole bag!  They had to go home with empty milk cartons.

Here is what we ended up with:


Ness xx

French Foliage Gift Tag

Last weekend I had to go to a guy's 40th and wanted to give a small gift.  I racked my brain and came up with the extremely unoriginal idea of giving a bottle of red wine.  I made this tag to dress up the bottle.

I used the new set, French Foliage to make this.  There is a little stamp in the set that looks like ink has splattered onto the page, which I really like the look of.


Ness x

Gift Card Holder

Wow!  It has been a whole month since I've posted something!  I have been in a card making frenzy, now that it is getting close to Christmas.

It is my mum's birthday next week so I wanted to make a card for her.  All three of her girls are giving her cash so she can spend it on a cruise she is going on in January.  I decided to make her a gift card holder and put cash inside it. 

To constuct it, I cut the card into a rectangle of 6 1/2" x  4 1/2" (I have started using inches) and the I scored the card at 1 1/2" and at 4".  I then folded it into eachother and decorated it.  I used brads to secure the pouch at the bottom.  I stamped the design using French Foliage and used the colours:  Always Artichoke, Early Expresso and Soft Suede.

We will be making one of these at the card making day this Sunday, but with a Christmas theme!  See side panel for details.

The holder is smaller than it looks in the picture, but can fit cash or a gift card perfectly.

Ness x